

This native integration requires a Zencoder account.
Overview
The Miro integration lets the AI agent work with your visual collaboration boards. Create new boards, add content like sticky notes and shapes, and update existing workspaces — enabling automated brainstorming, planning, and visual documentation.Miro integration is based on Miro MCP
Connecting Miro
1
Open Settings & Integrations
Navigate to Settings → Integrations in the Zenflow sidebar.
2
Find Miro
Locate Miro in the Integrations Catalog.
3
Click Connect
Click the Connect or [+] button on the Miro card.
4
Authorize Connection
Authenticate and authorize Zenflow to access your Miro workspace via the secure OAuth popup window:
Click Allow Access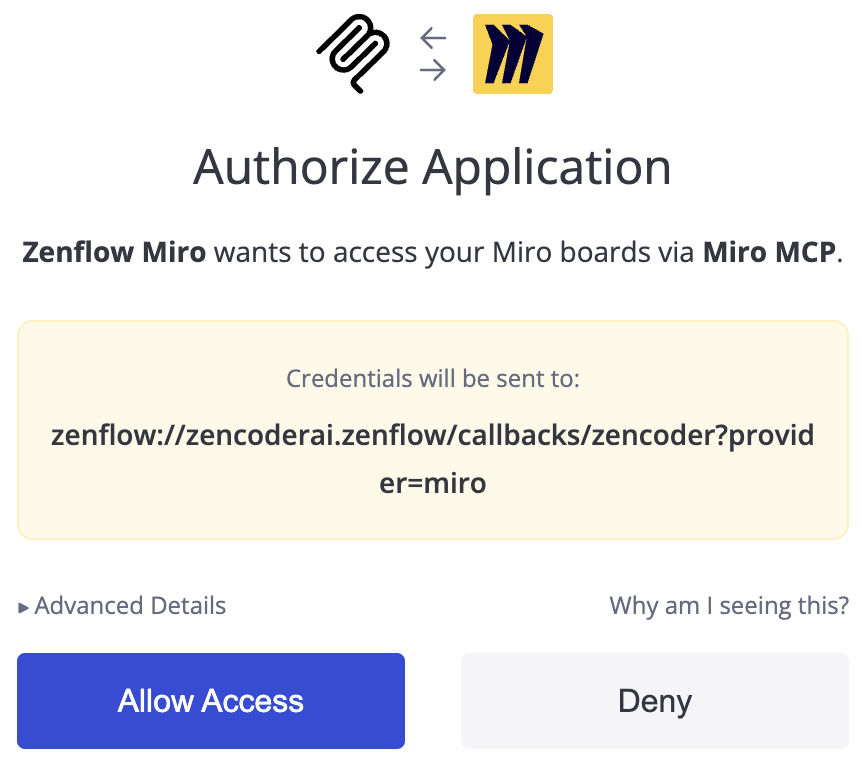
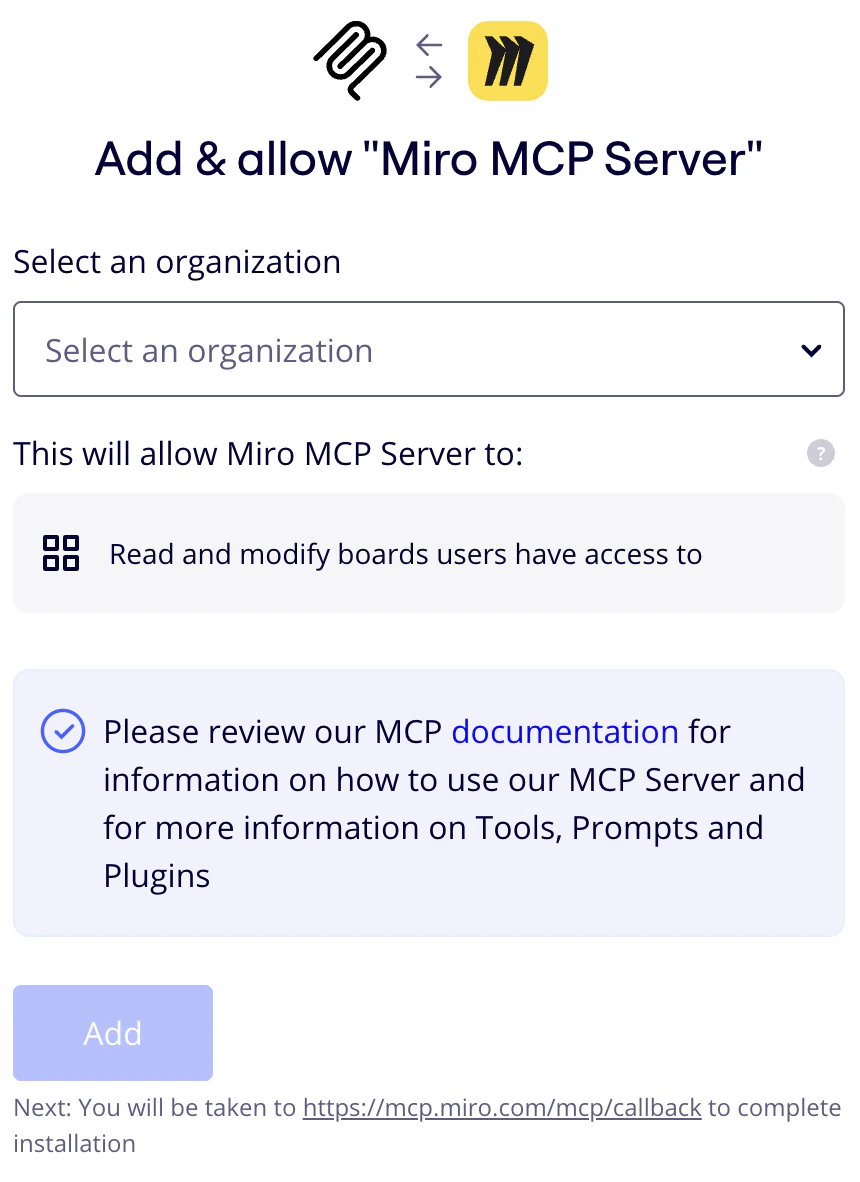
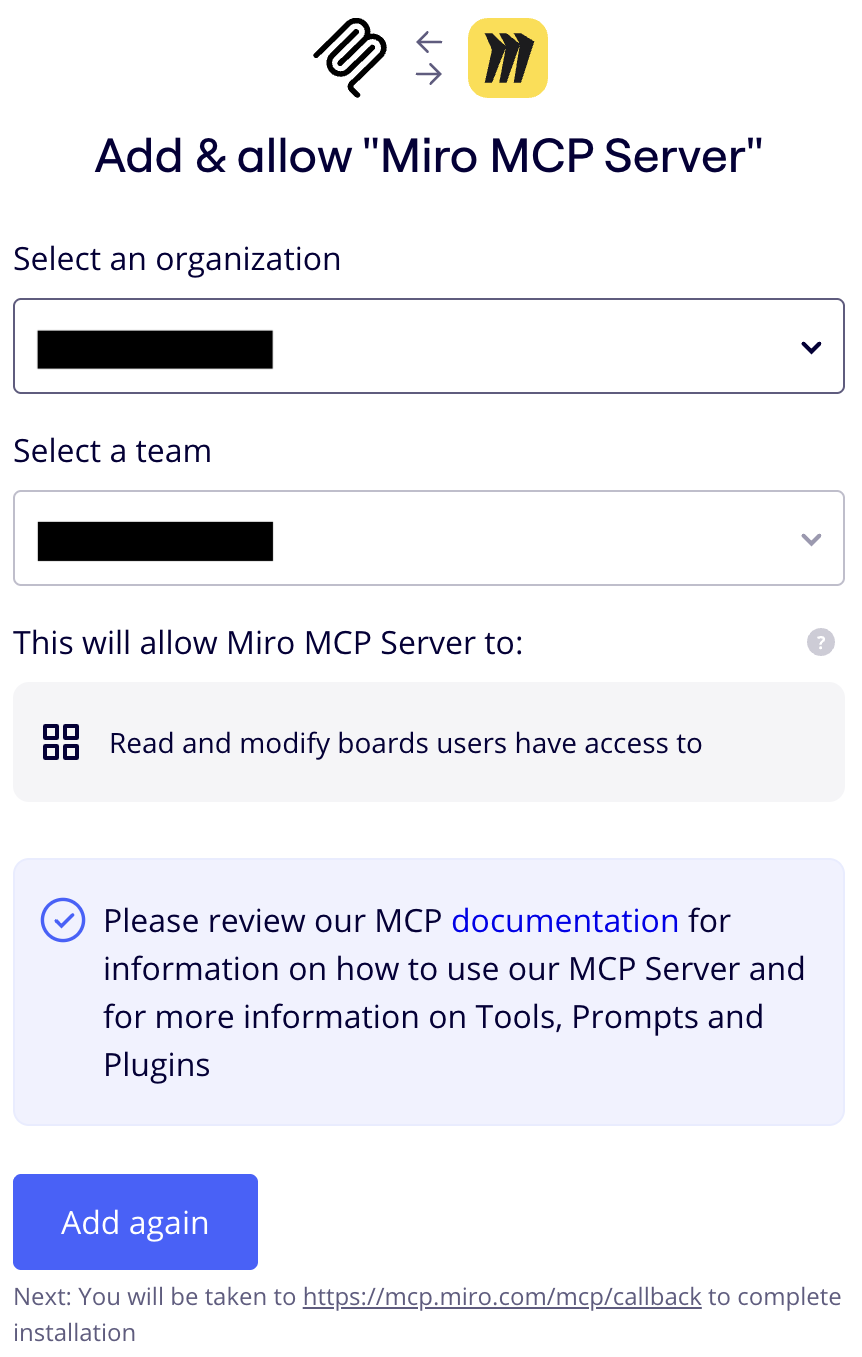
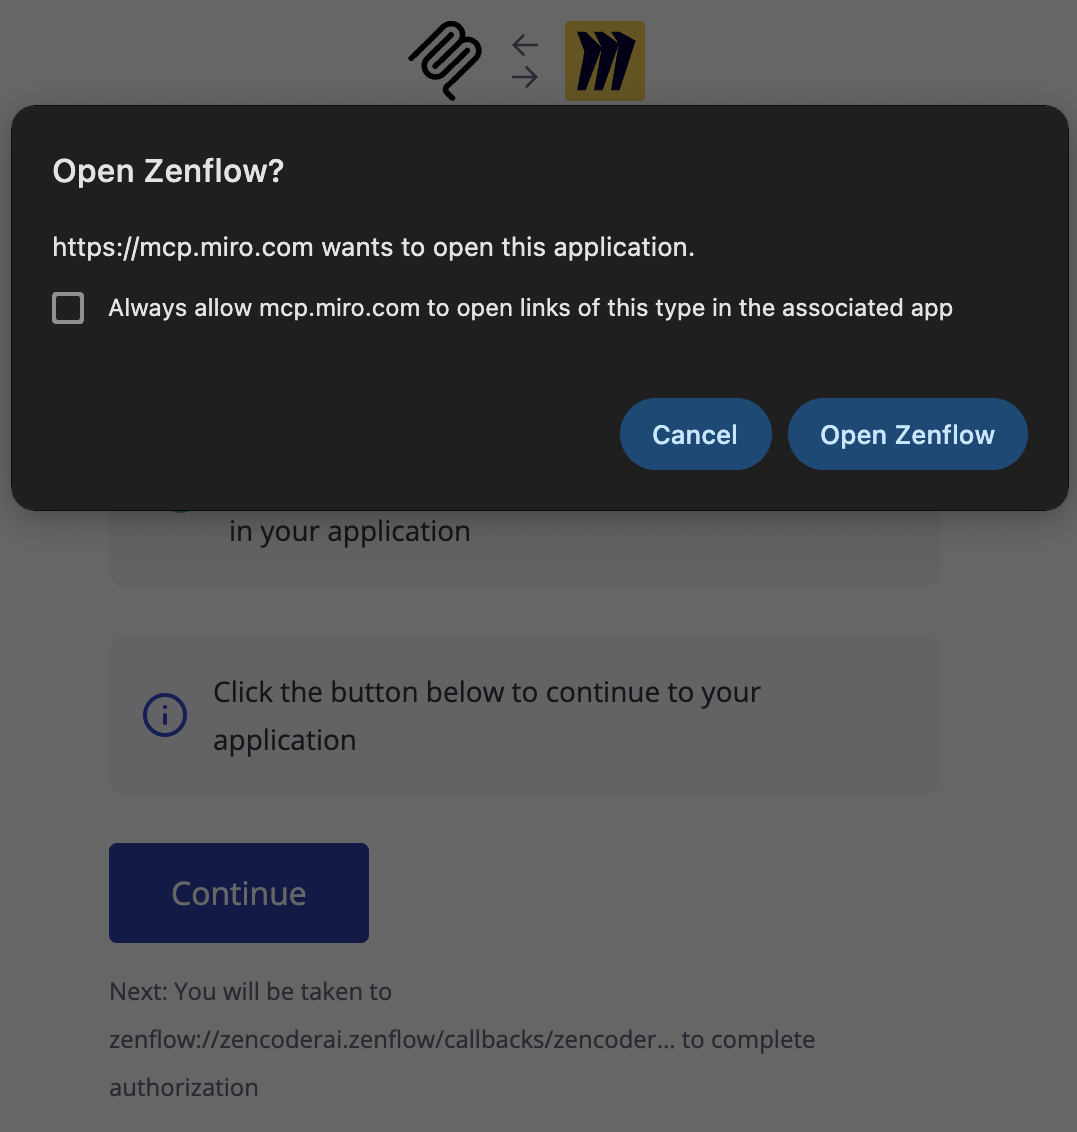
5
Integration enabled

What the Agent Can Do
- Create boards — Set up new Miro boards for projects, sprints, or brainstorming sessions
- Add content — Place sticky notes, shapes, text, and other elements on boards
- Update boards — Modify existing board content and layout
- Organize — Structure visual collaboration spaces for team workflows
Example Use Cases
- Auto-generate sprint retrospective boards with data from Jira or Linear
- Create brainstorming boards from meeting notes
- Build visual project roadmaps from task tracker data
- Organize research findings into structured visual layouts