Documentation Index
Fetch the complete documentation index at: https://docs.zencoder.ai/llms.txt
Use this file to discover all available pages before exploring further.
Overview
Zenflow now supports installation on a VPS (Virtual Private Server). Follow instructions below to set it up or watch this video walkthrough for DigitalOceanVPS requirements
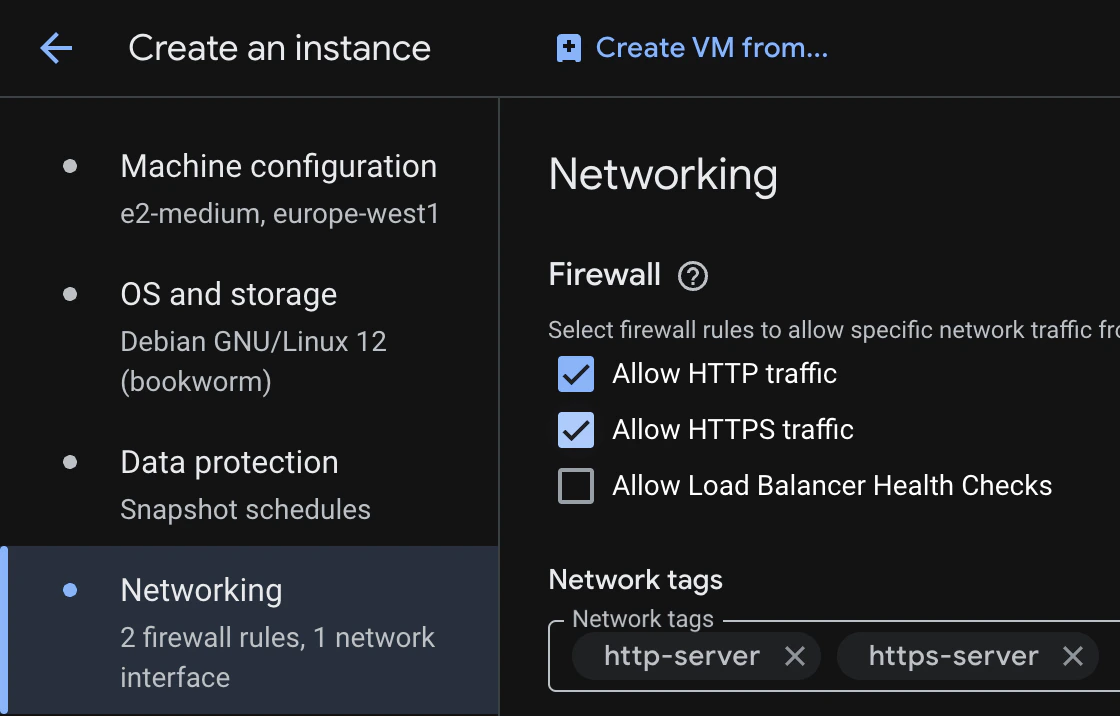
Regardless of VPS provider, main requirement is to enable HTTPS traffic to the instance
- Digital Ocean
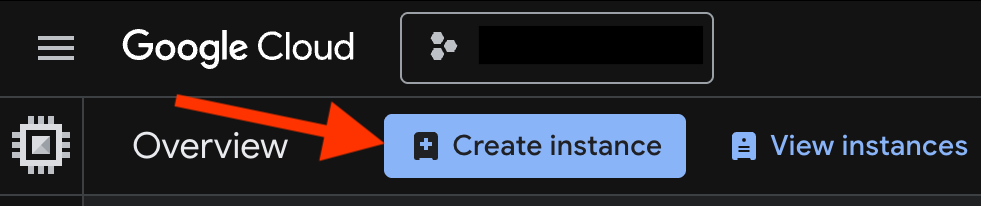
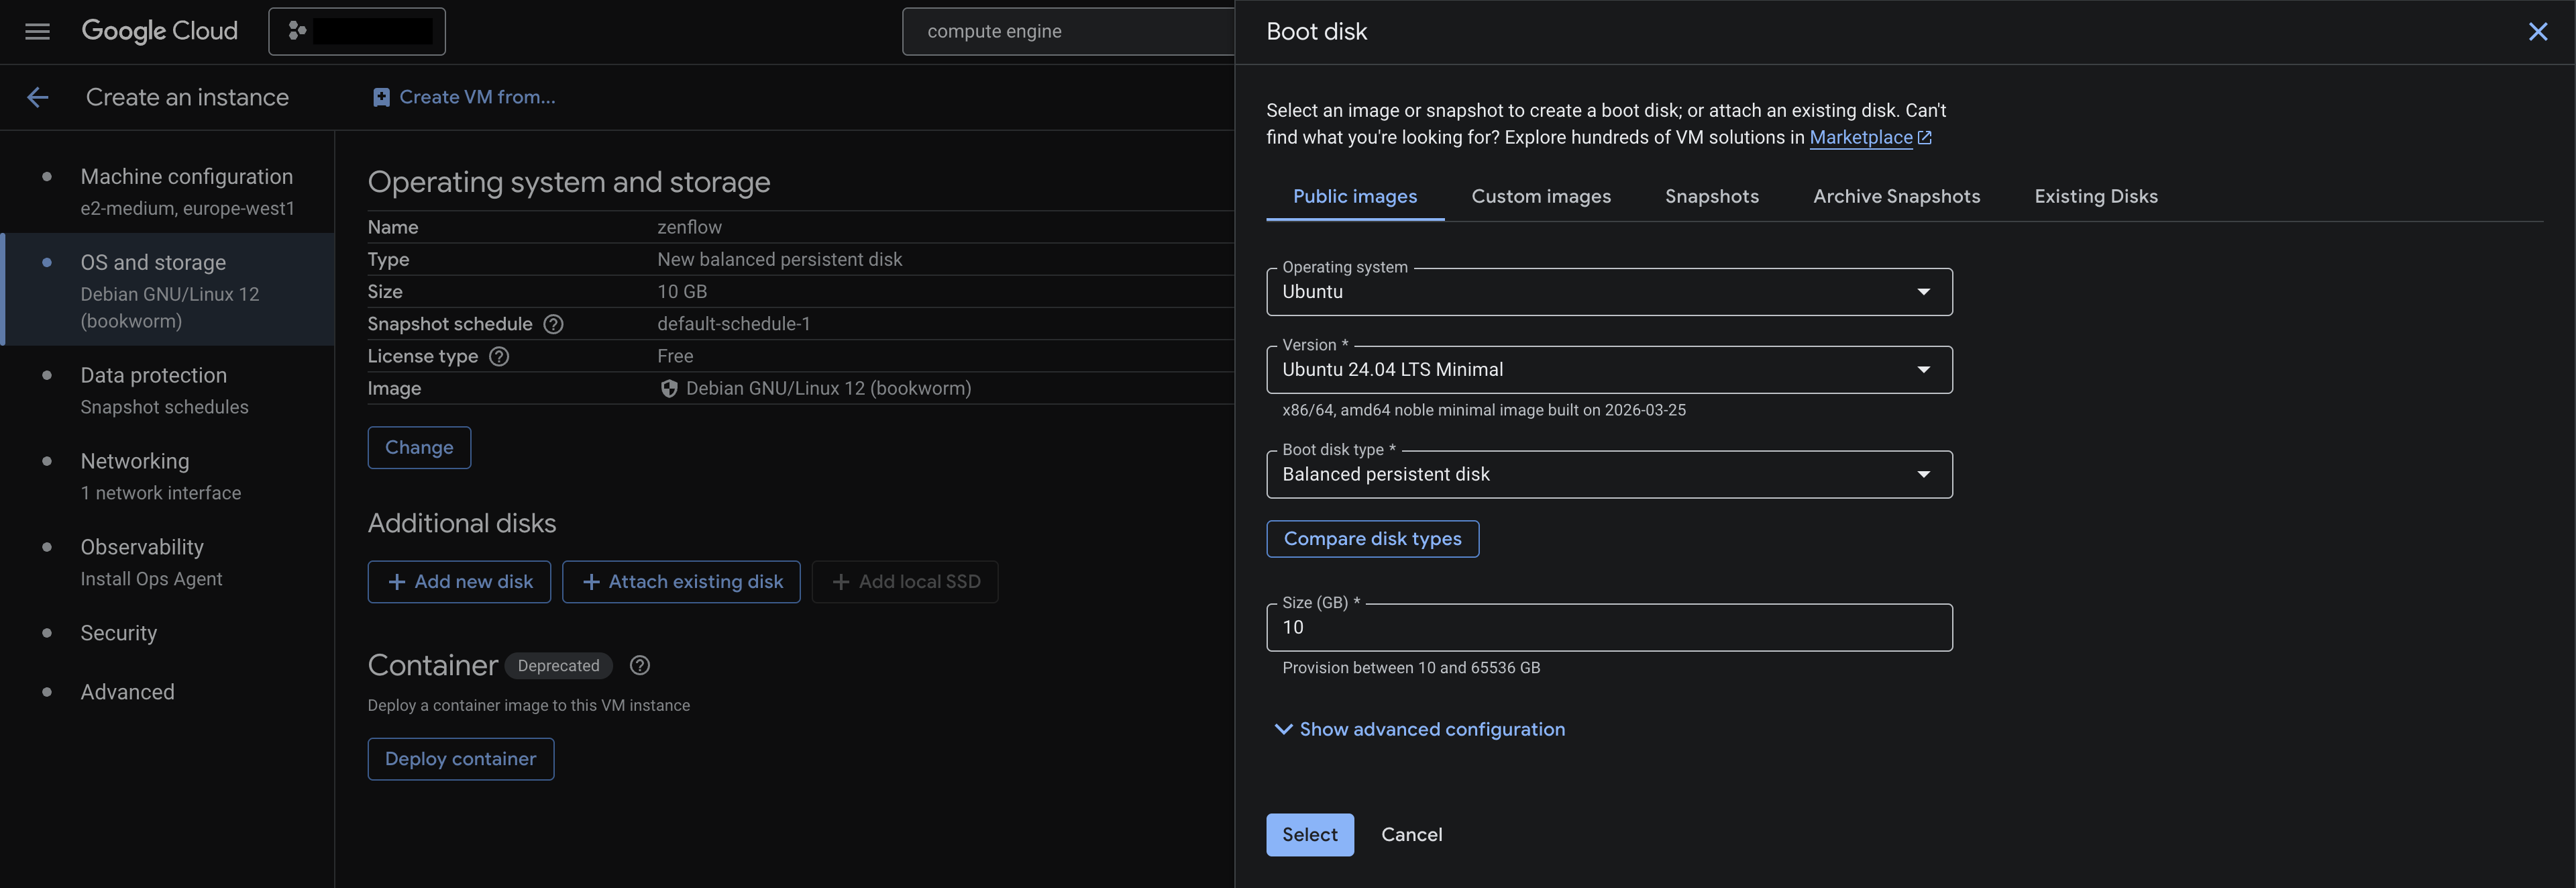
- Google Cloud
- Log into DigitalOcean
- Click Create dropdown and select Droplets

- Choose the region based on your requirements
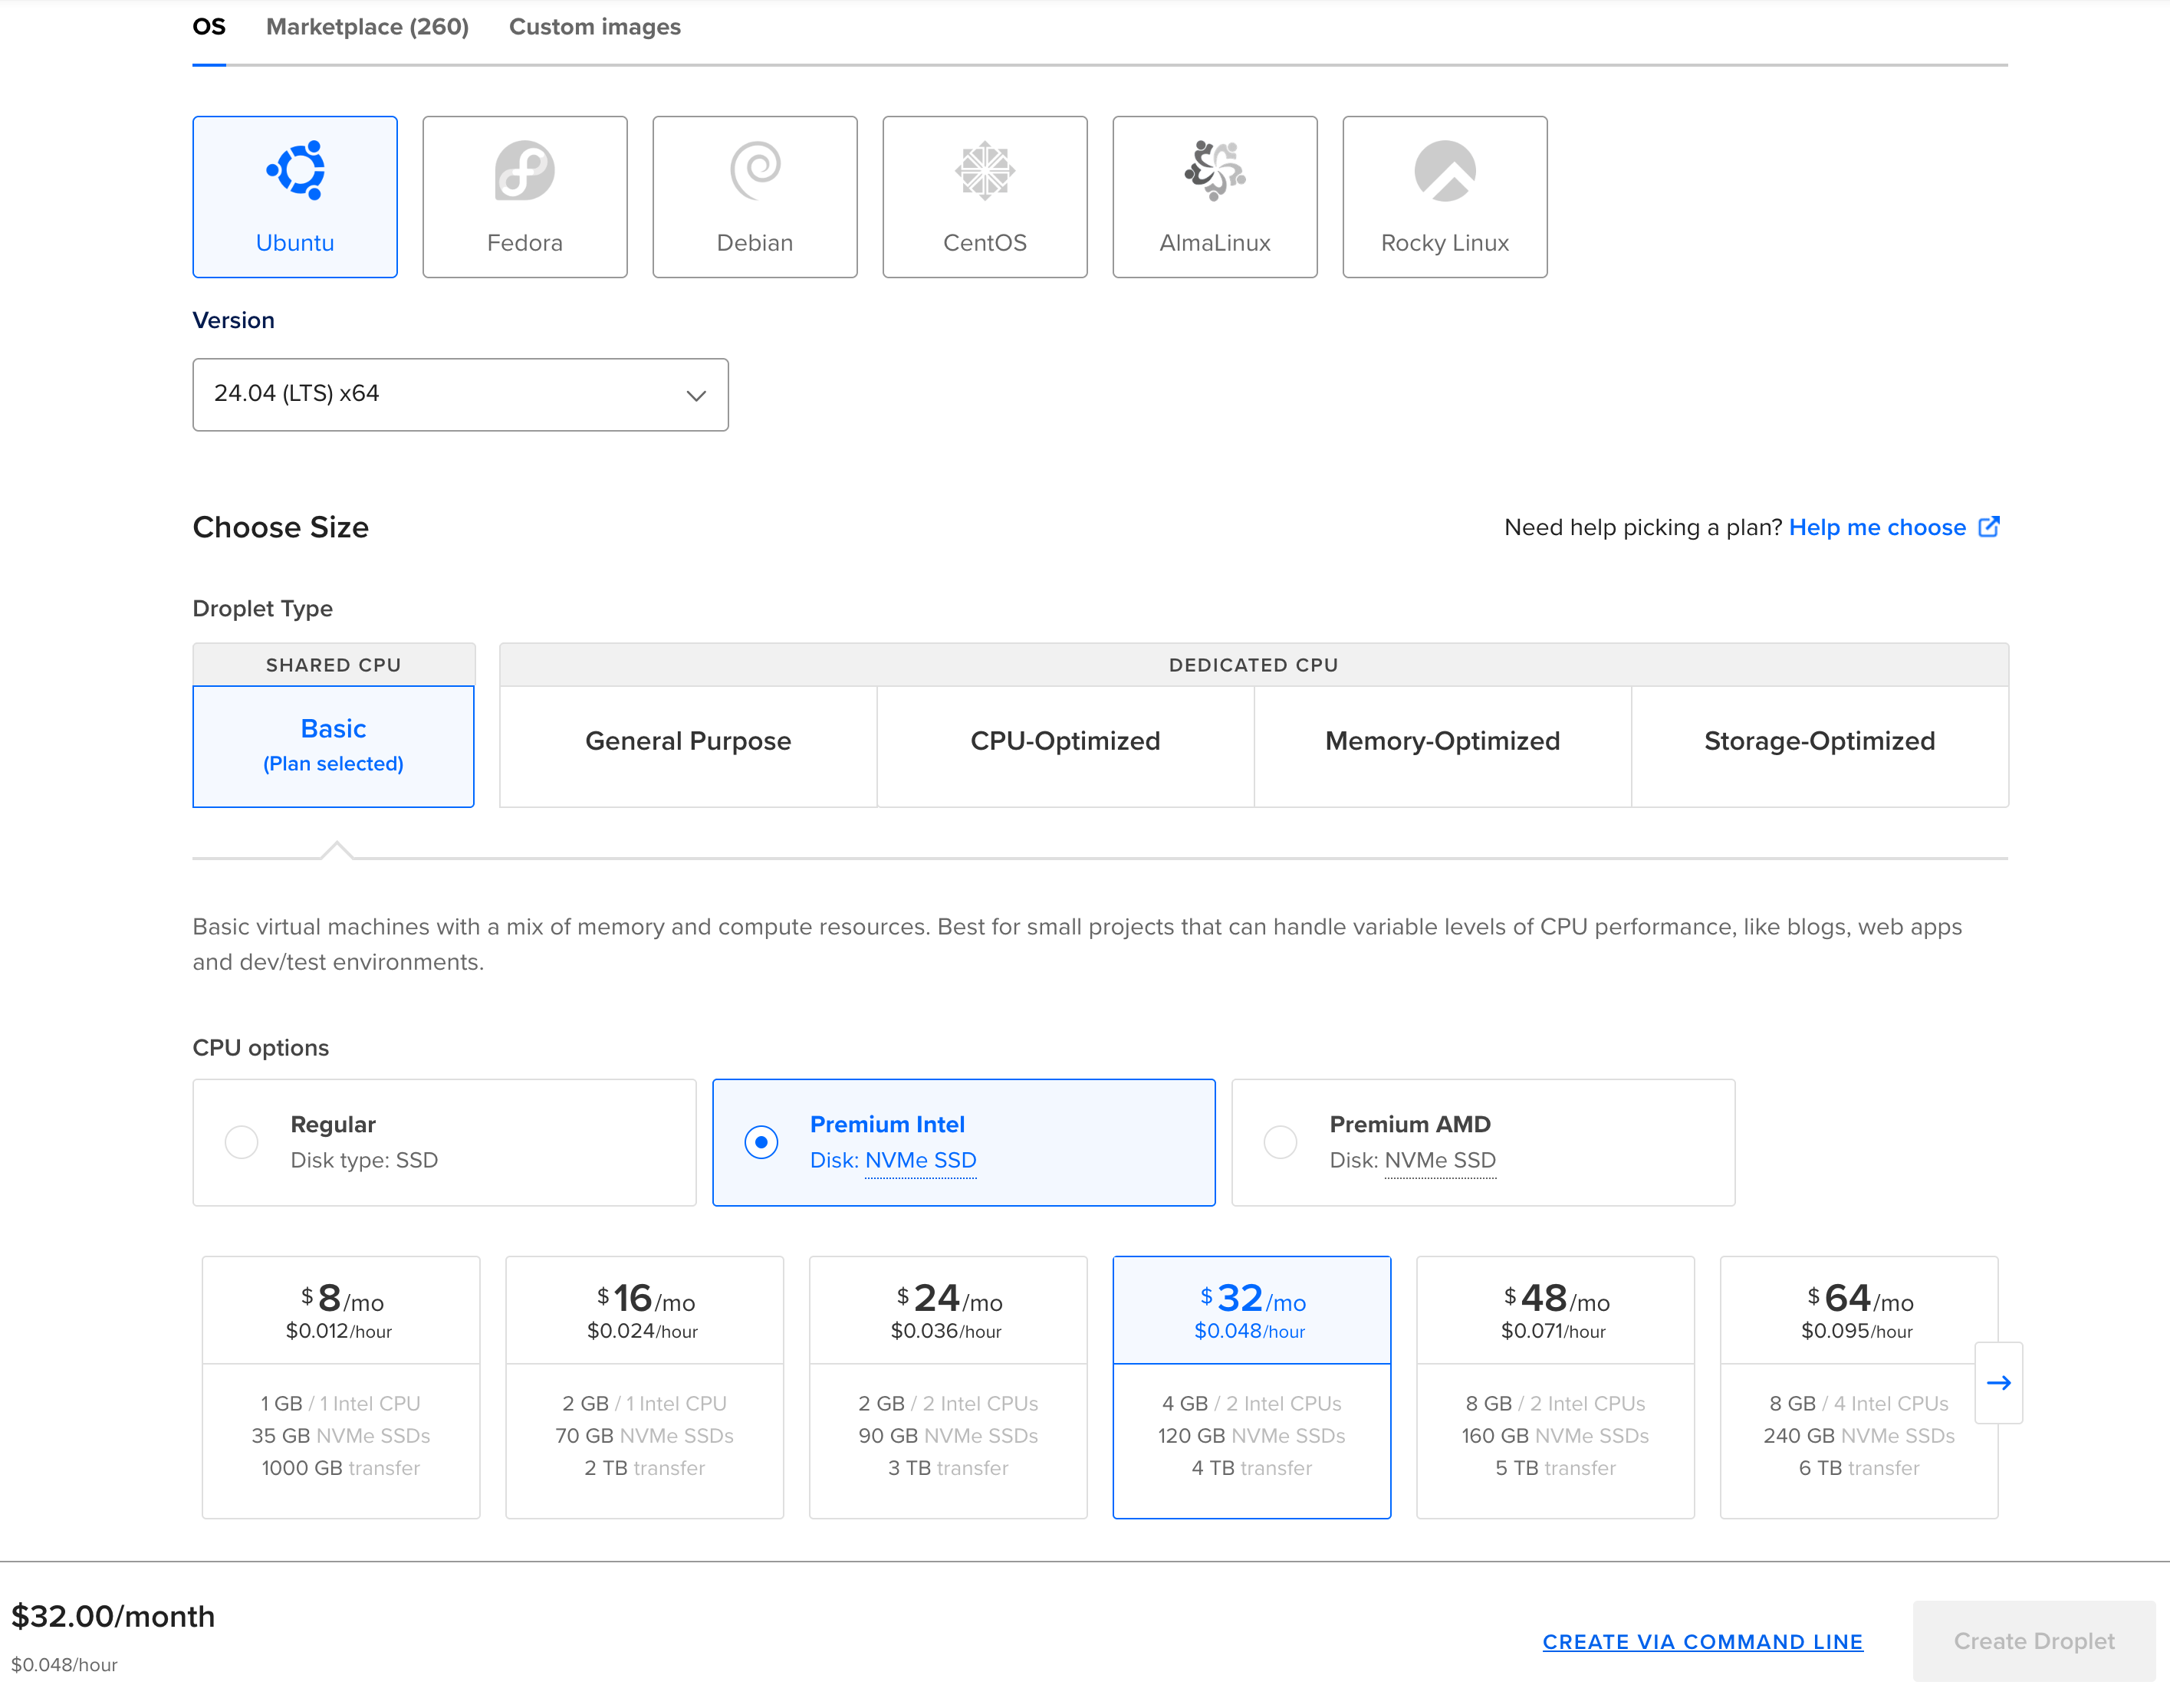
- Choose Ubuntu 24.04 for the OS (the default image)
- Droplet size depends on your needs - if you expect Zenflow to execute heavy tasks (e.g. compiling code), you might want to create larger droplet. Or you can start with the default
- Choose and set up your authentication method
- Optionally rename the droplet to something meaningful, like
Zenflow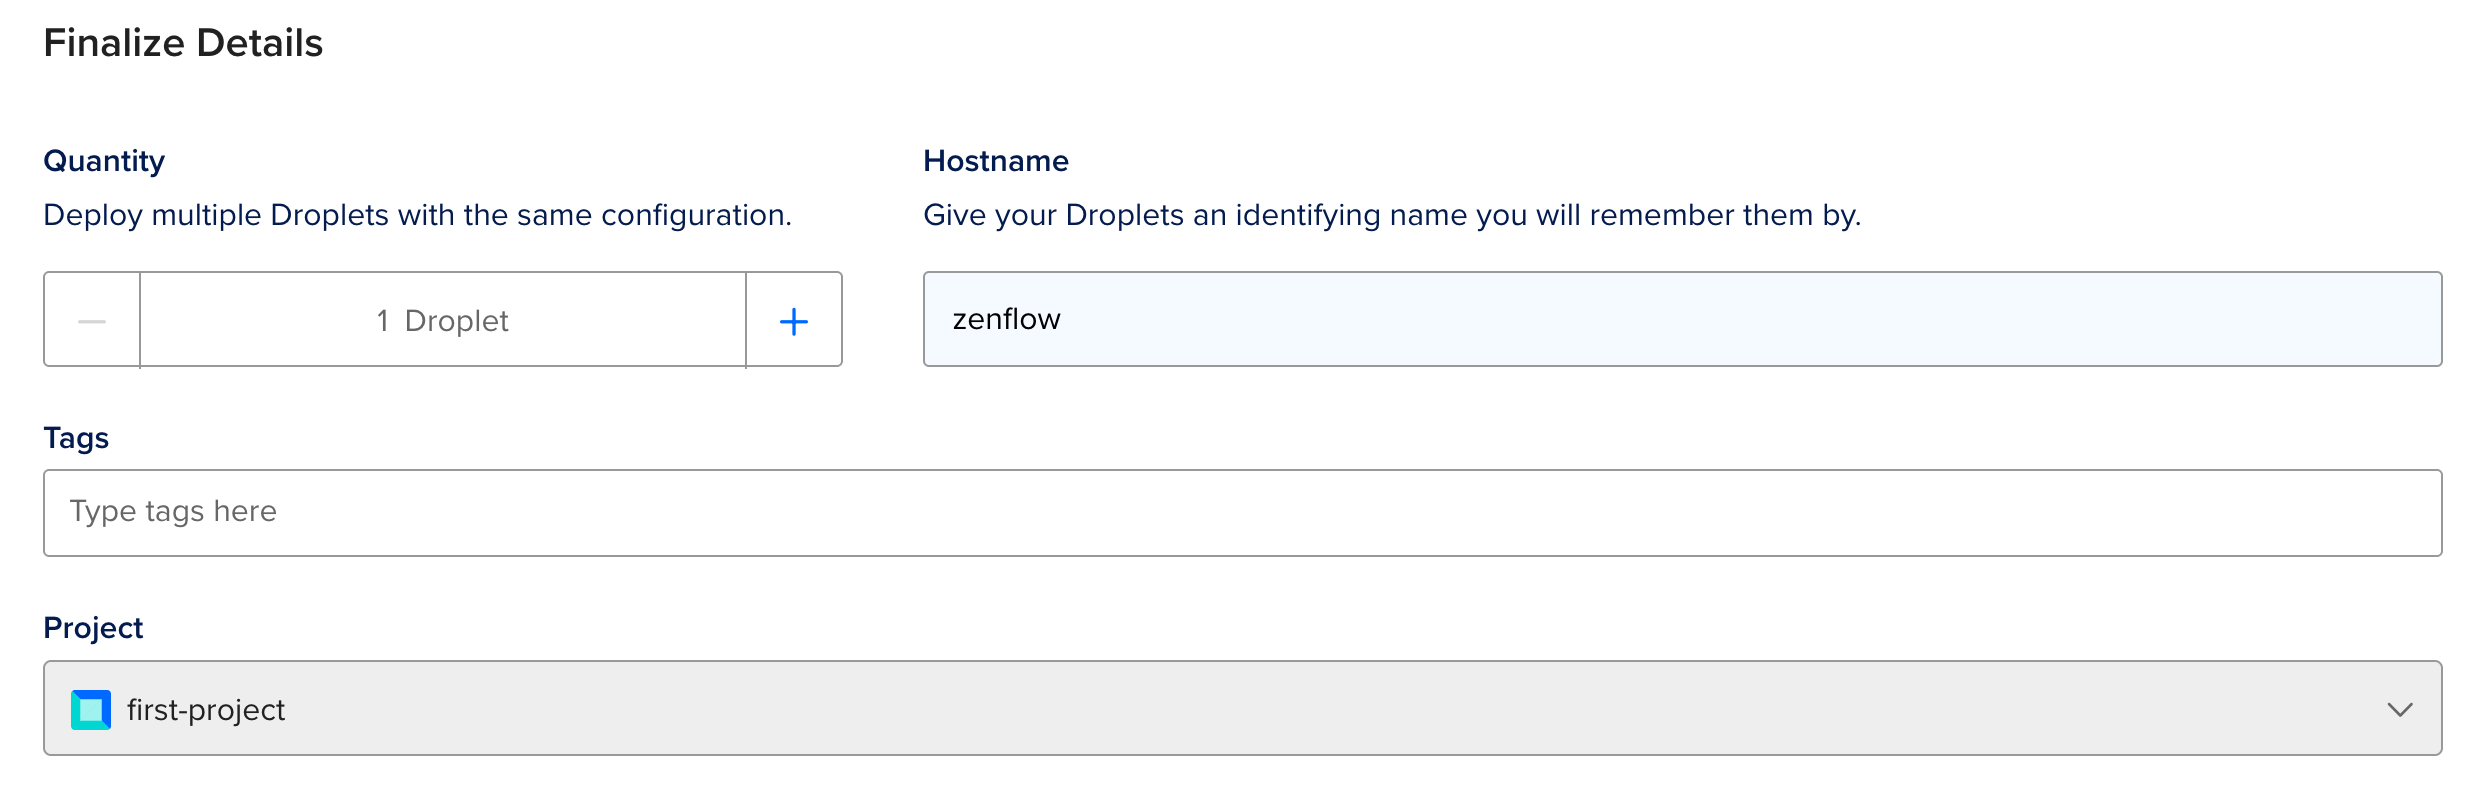
- Click Create Droplet button
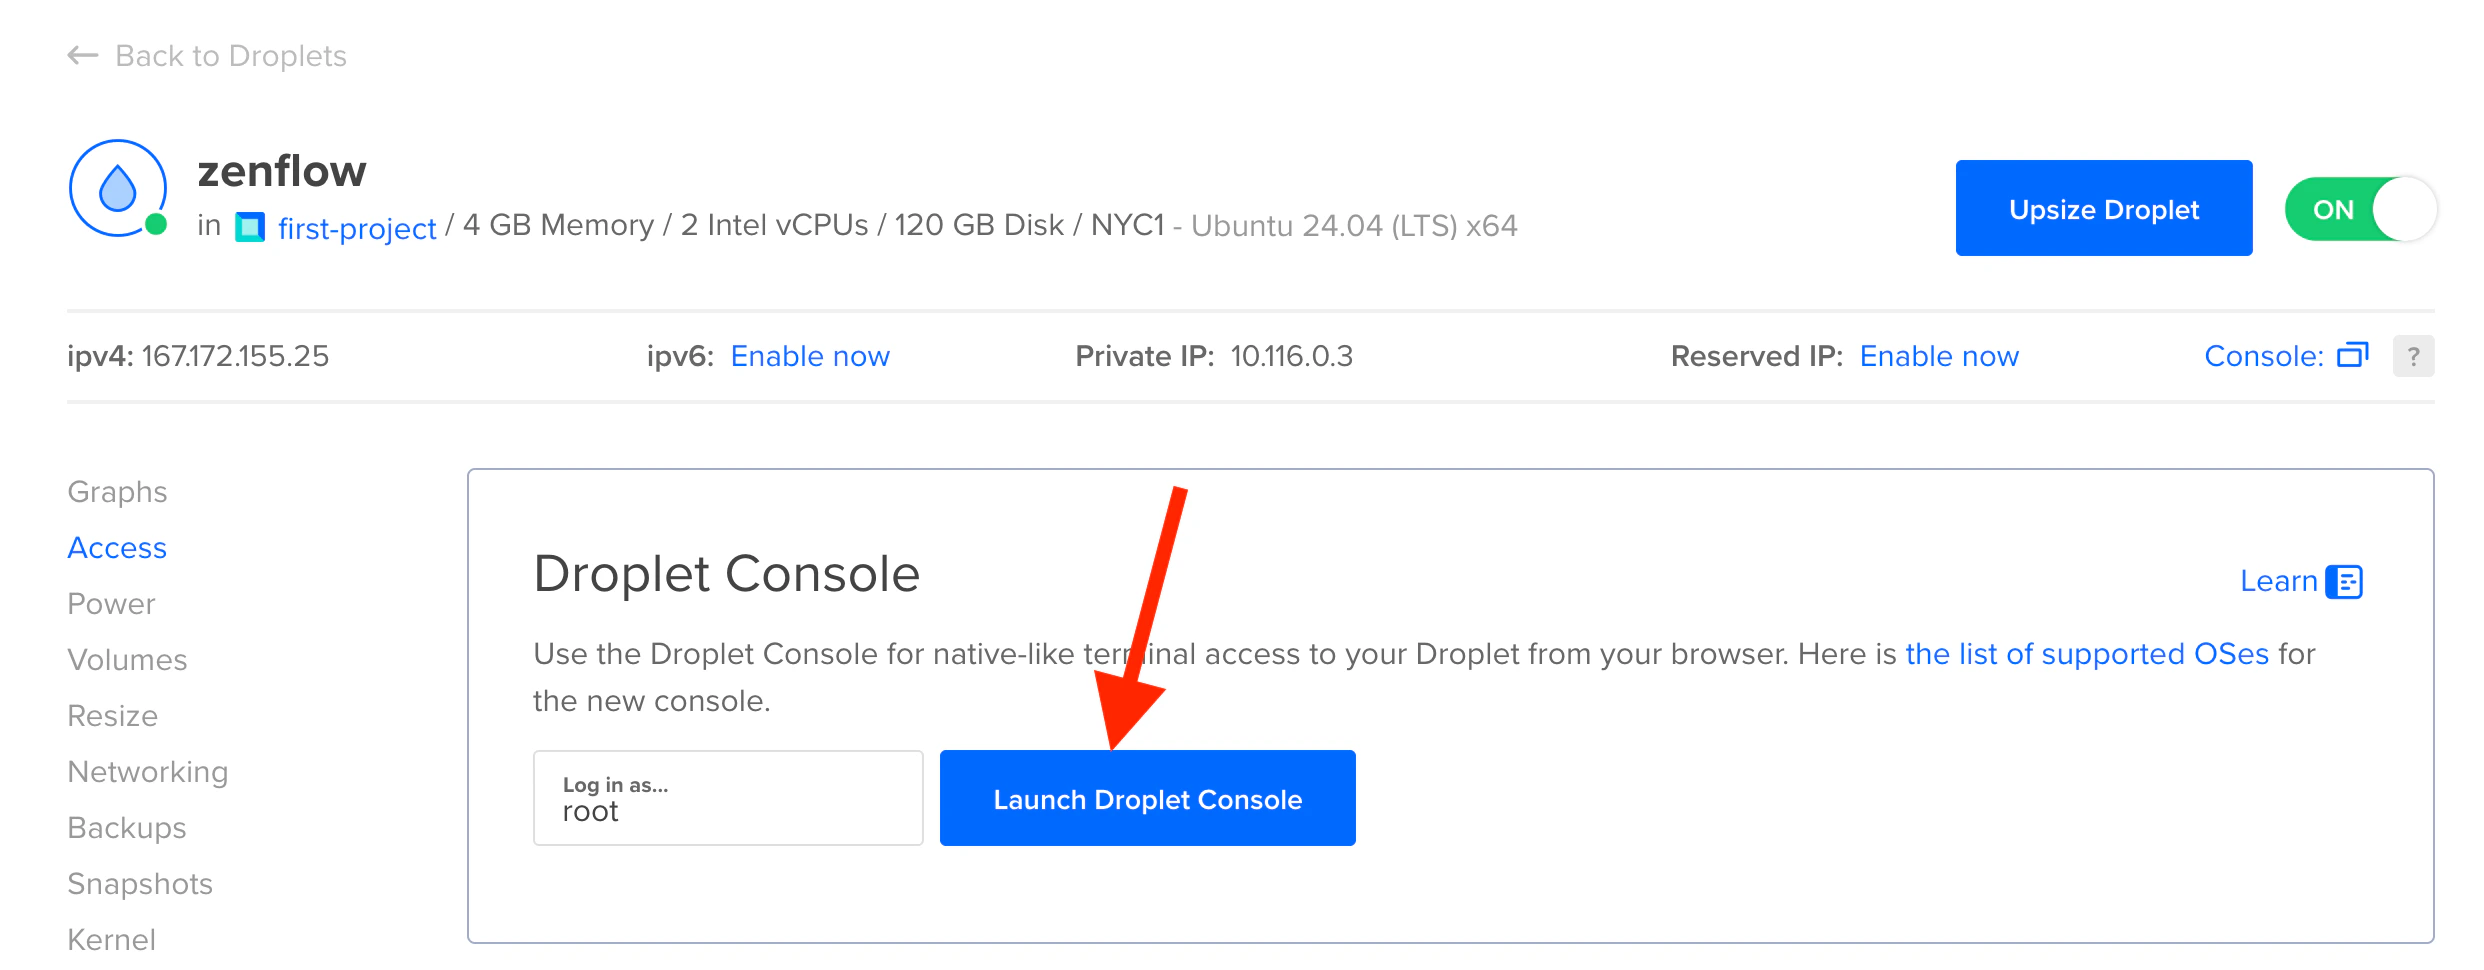
- After droplet gets created, connect to it either using terminal or through Digital Ocean’s Access console


- Create non-root user with desired name (for example,
zenflow), give it sudo rights and switch to the user:
- Run the following command to download and execute set up script:
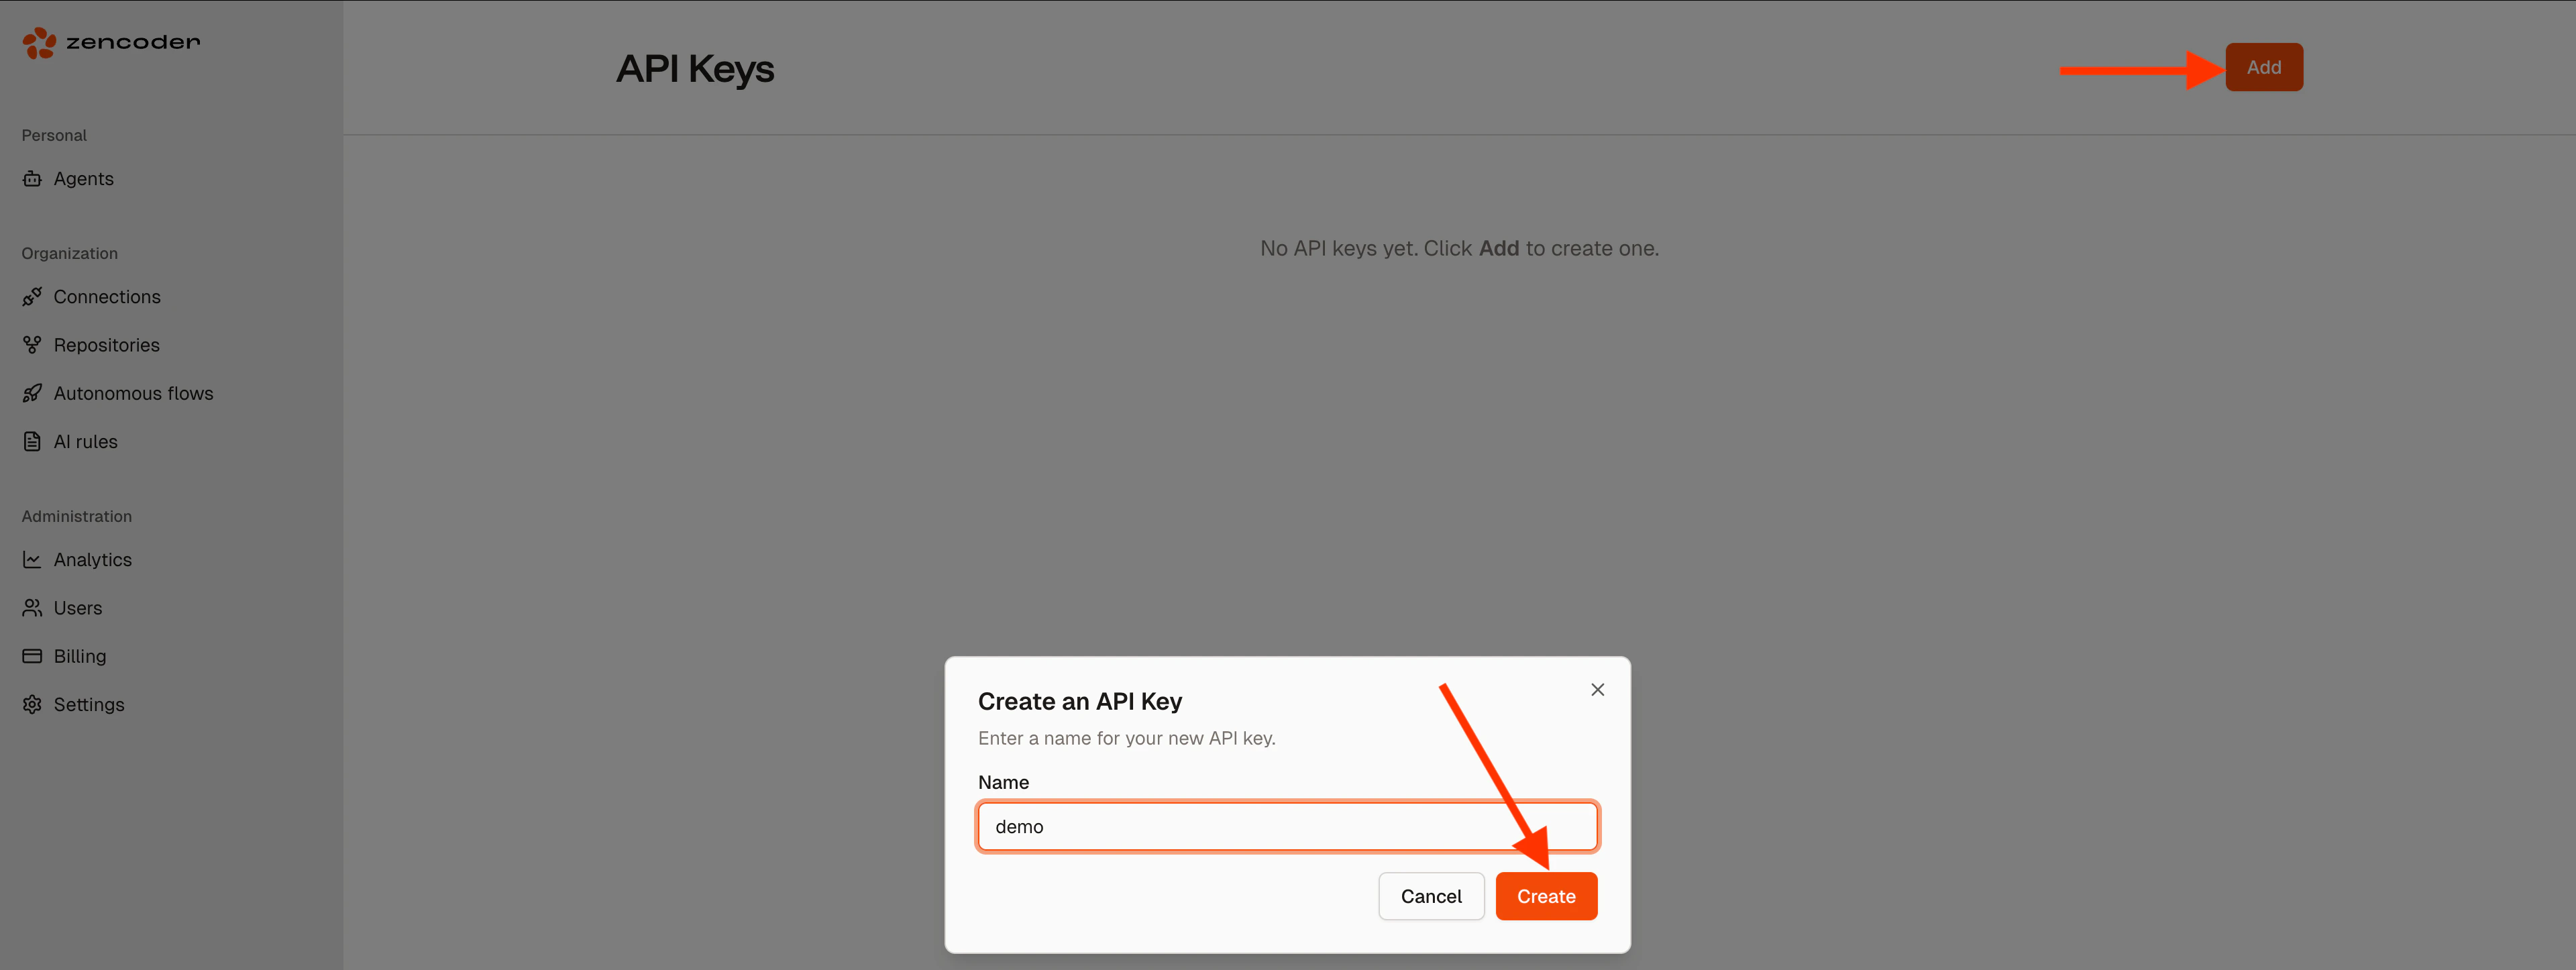
- After initial setup the script will ask you to create API key at https://auth.zencoder.ai/api-keys
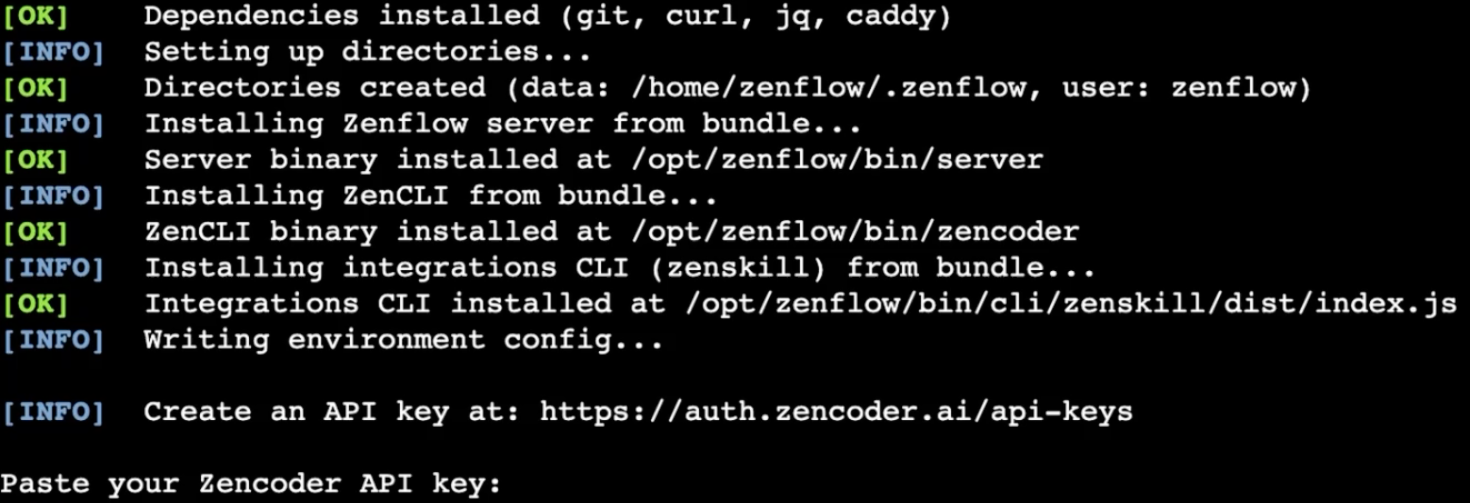
- On that page click Add, give the API key a name and click Create. You will be shown the API key, store it in a secure place, it is only shown once
- Go back to your VPS and paste the API key
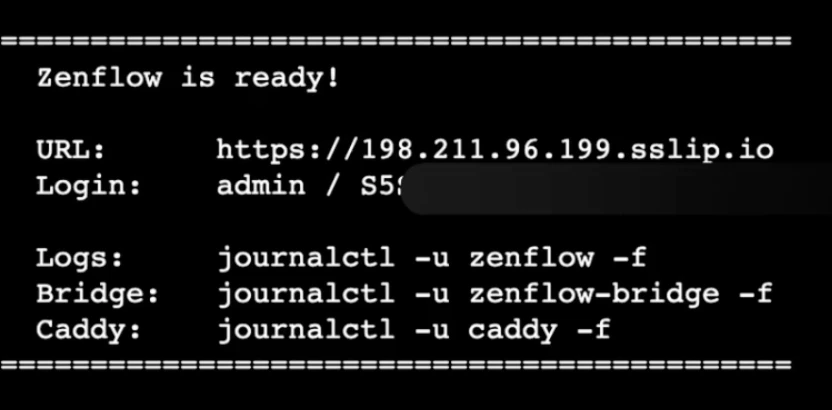
- You will then be shown the URL at which you can access Zenflow and credentials (username/password)
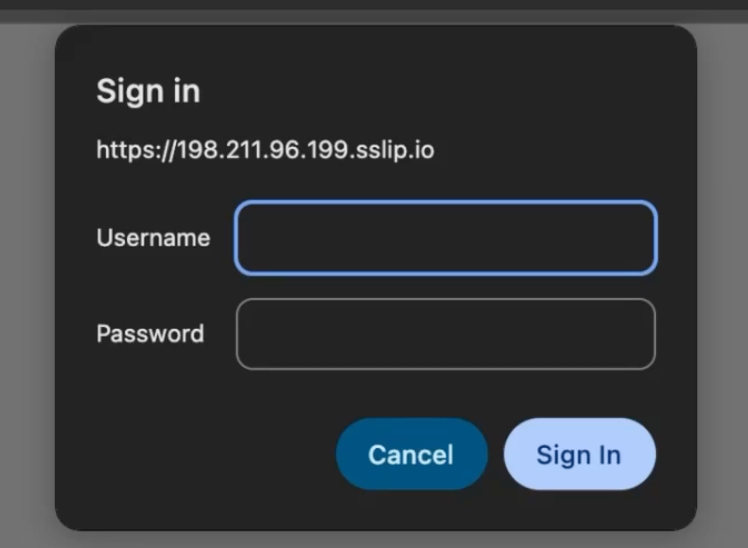
- When you visit the URL, you’ll be prompted for Username/Password from the previous step
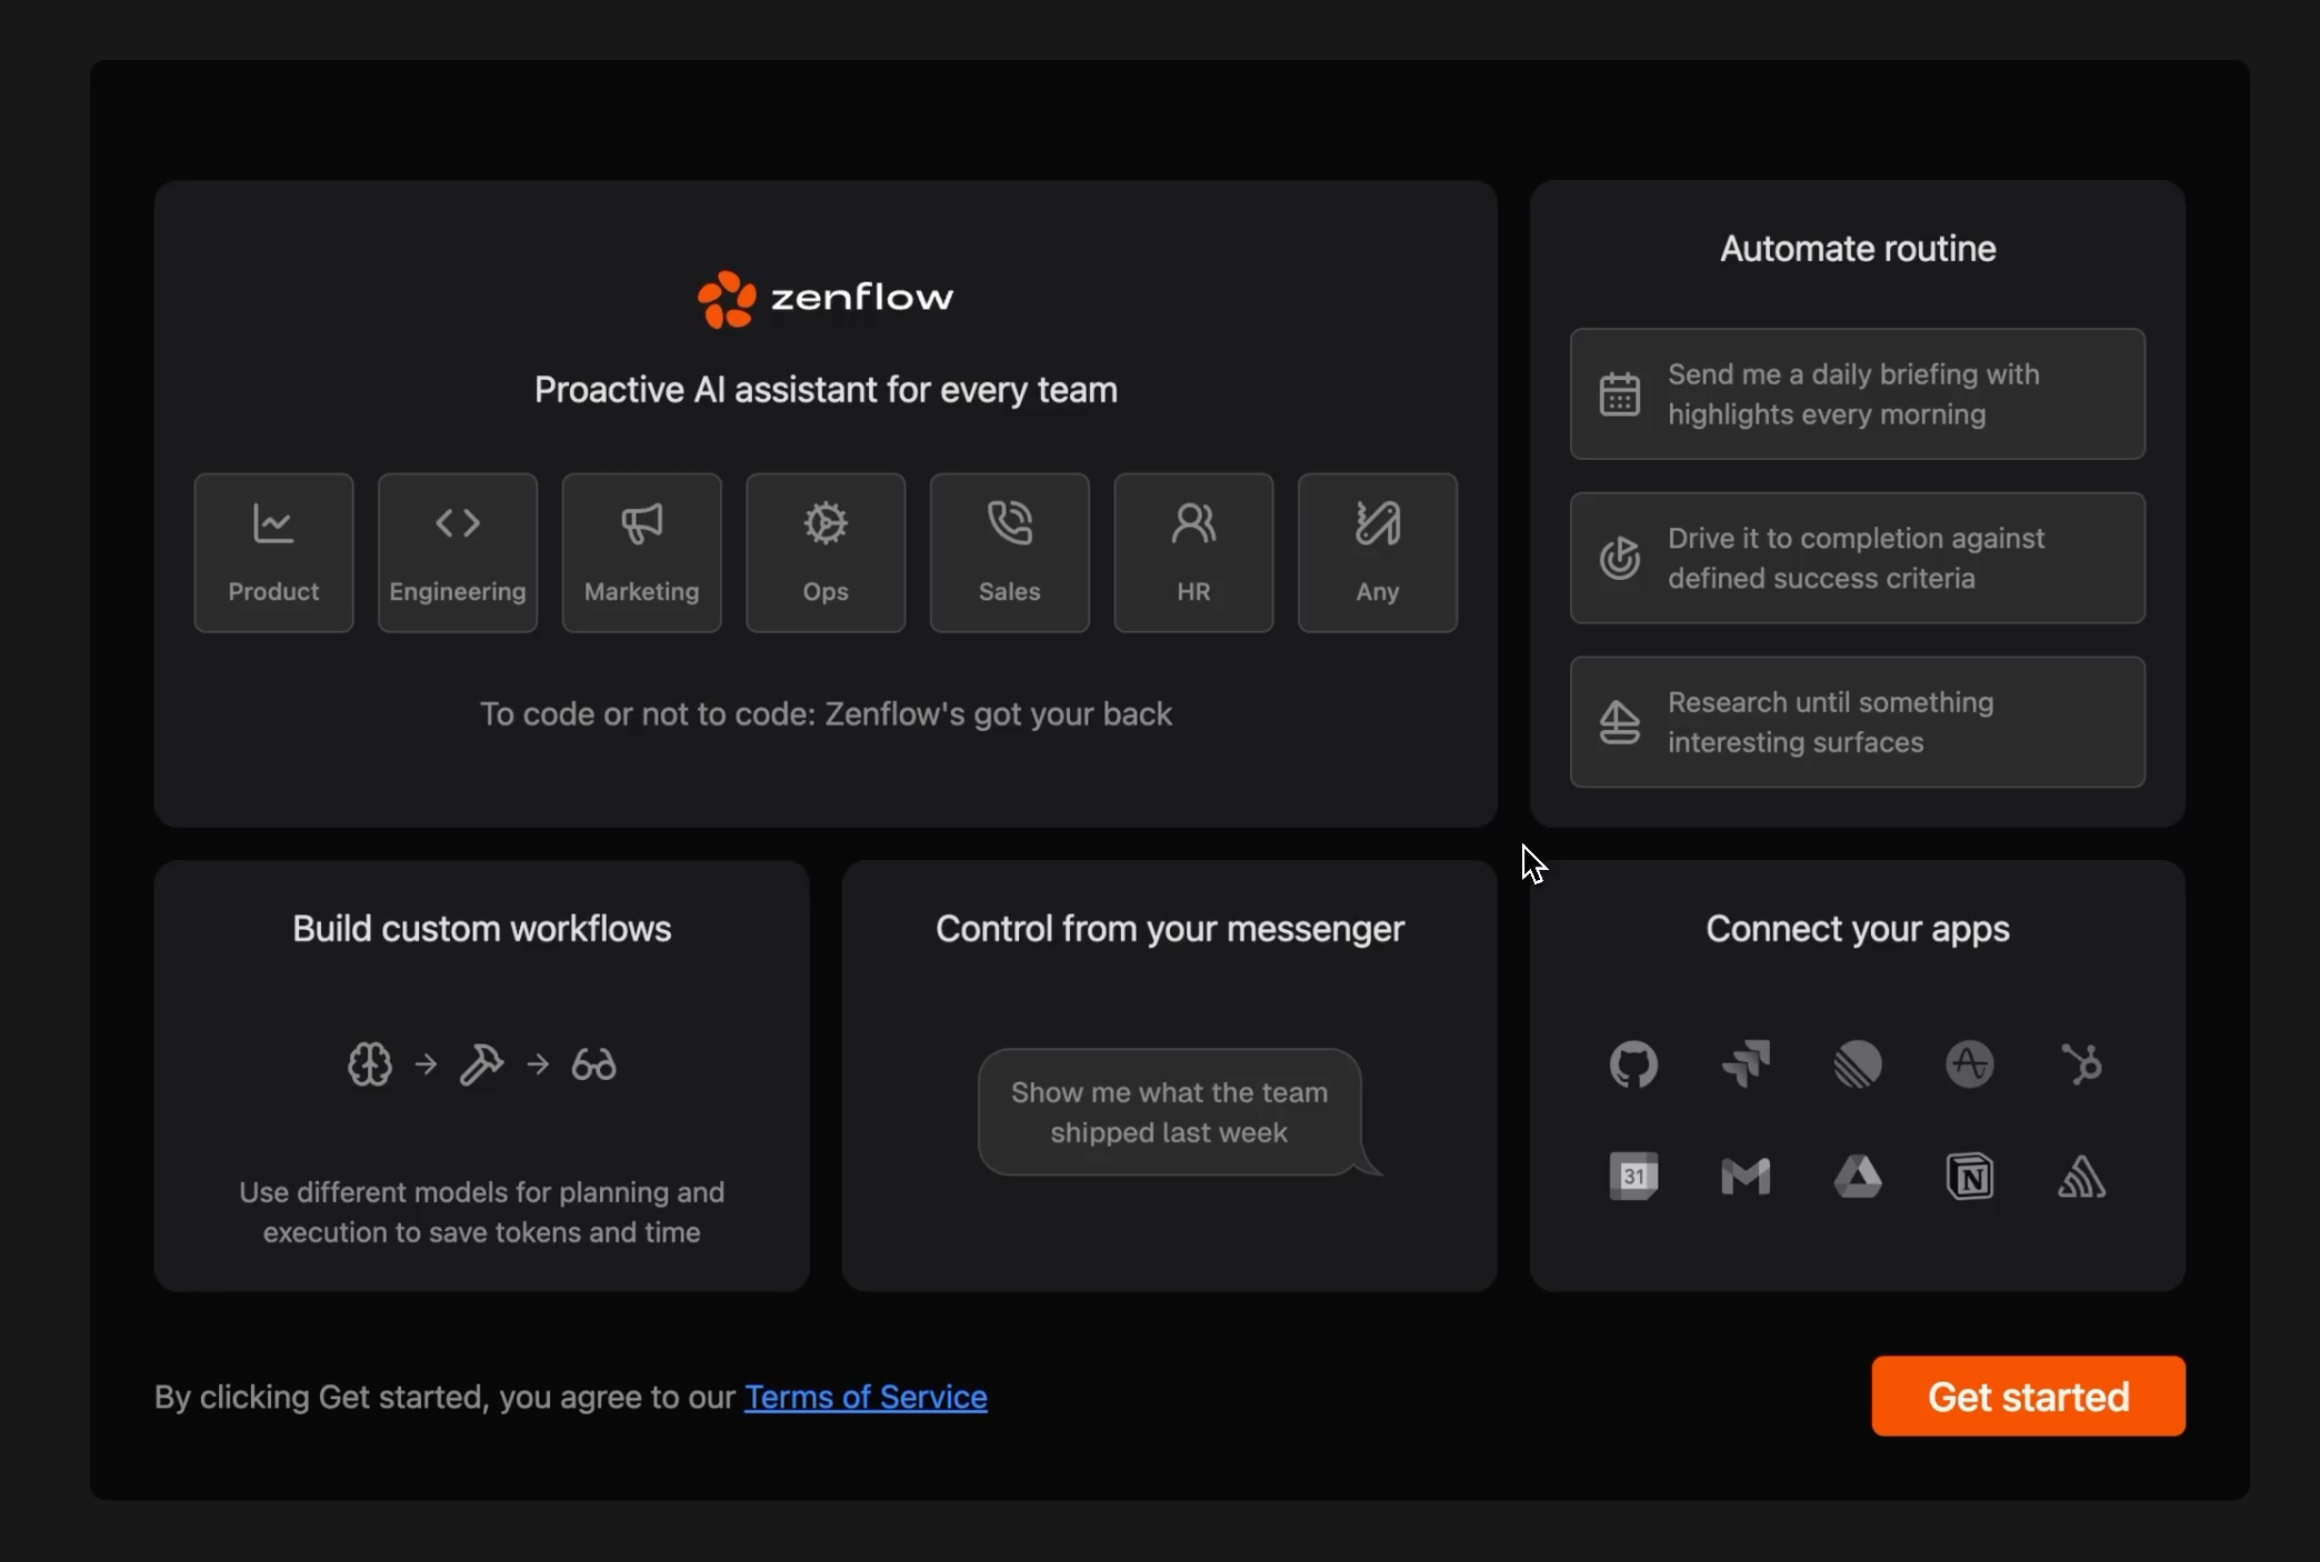
- Once logged in, you’ll see the onboarding screen of Zenflow and now can work with it through browser remotely