Documentation Index
Fetch the complete documentation index at: https://docs.zencoder.ai/llms.txt
Use this file to discover all available pages before exploring further.
Overview
The Miro integration lets the AI agent work with your visual collaboration boards. Create new boards, add content like sticky notes and shapes, and update existing workspaces — enabling automated brainstorming, planning, and visual documentation.Miro integration is based on Miro MCP
Connecting Miro
Click Connect
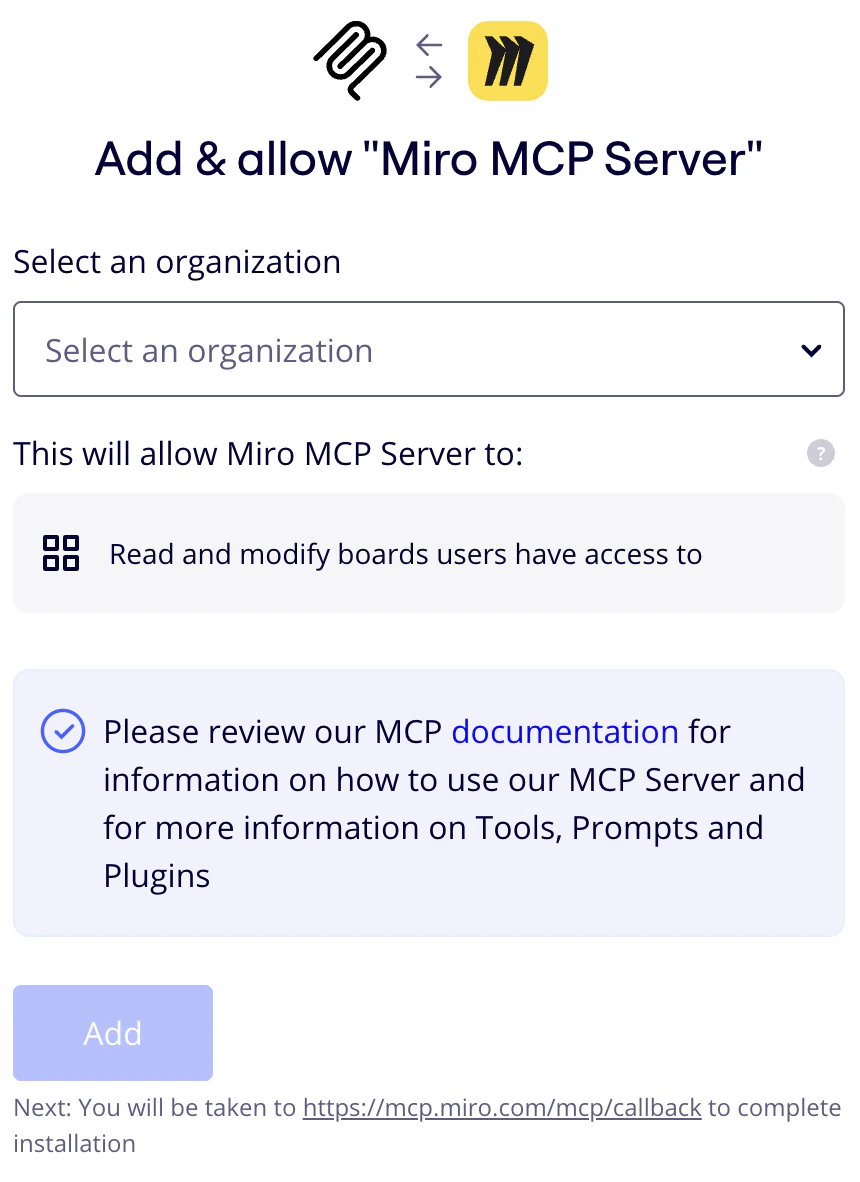
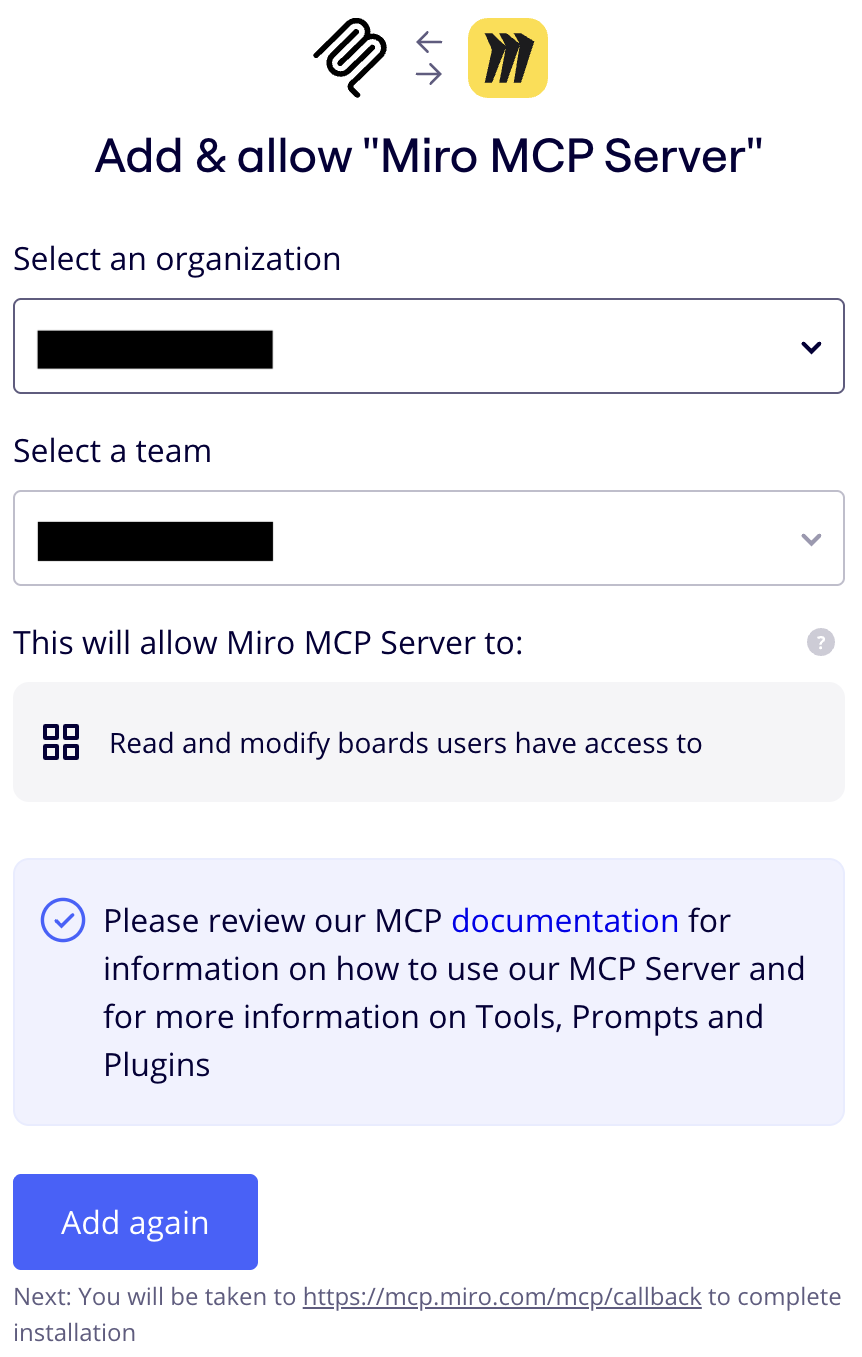
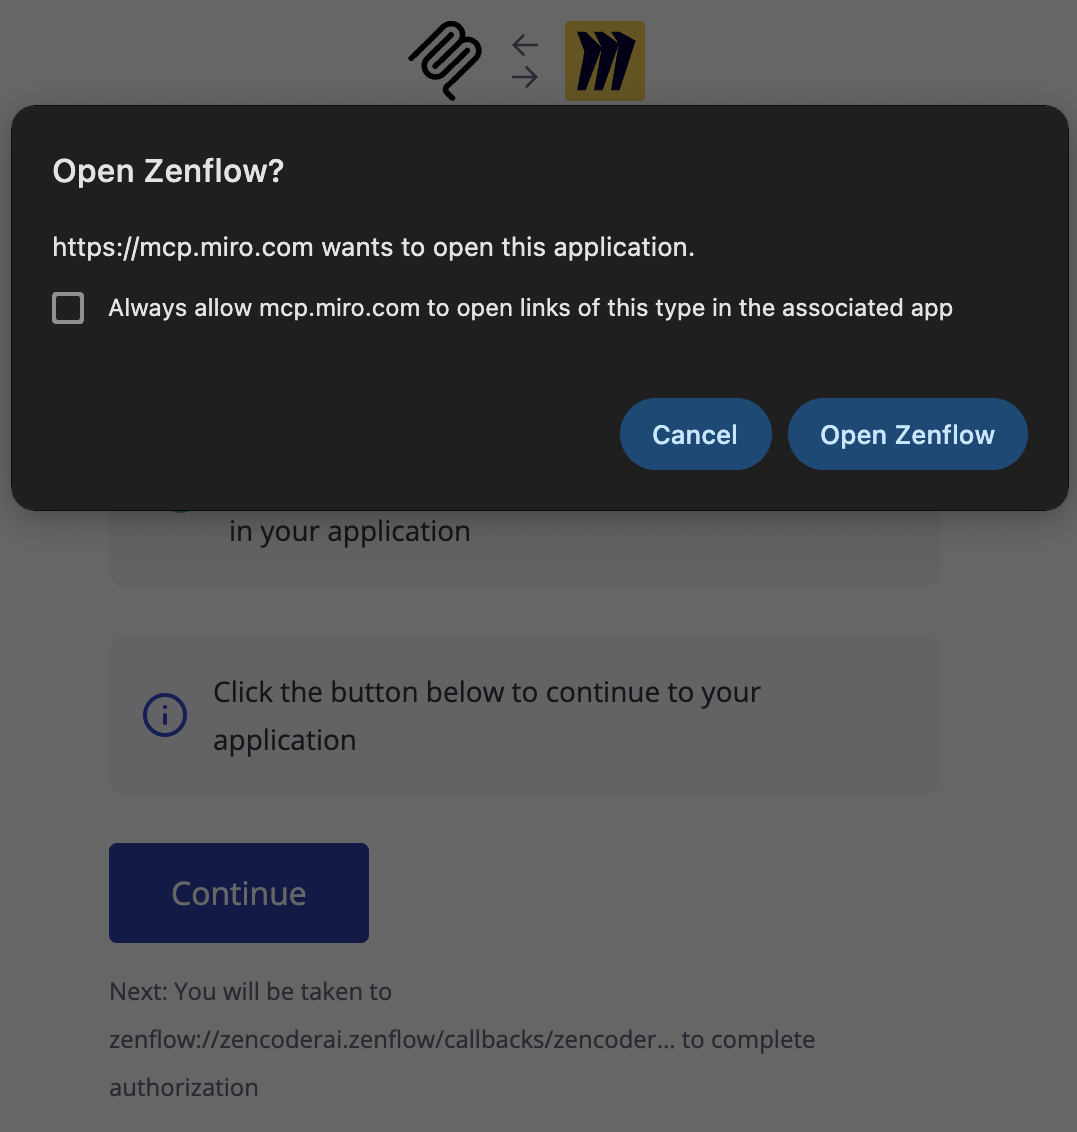
Click Connect and authorize Zenflow to access your Miro workspace via the OAuth flow:
Click Allow Access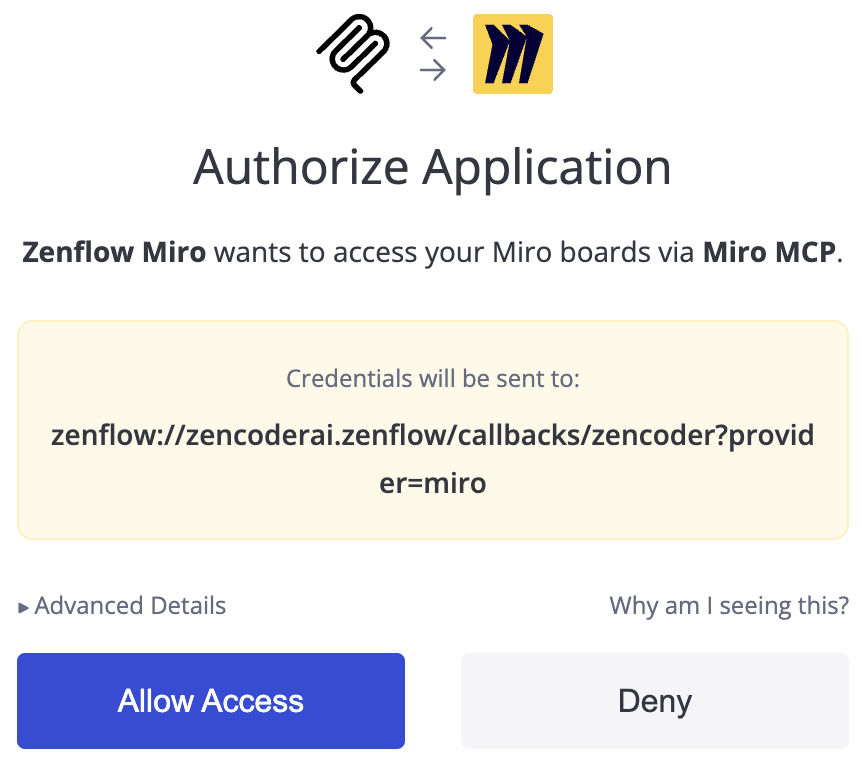

What the Agent Can Do
- Create boards — Set up new Miro boards for projects, sprints, or brainstorming sessions
- Add content — Place sticky notes, shapes, text, and other elements on boards
- Update boards — Modify existing board content and layout
- Organize — Structure visual collaboration spaces for team workflows
Example Use Cases
- Auto-generate sprint retrospective boards with data from Jira or Linear
- Create brainstorming boards from meeting notes
- Build visual project roadmaps from task tracker data
- Organize research findings into structured visual layouts